
Opening the problem — why it matters right now
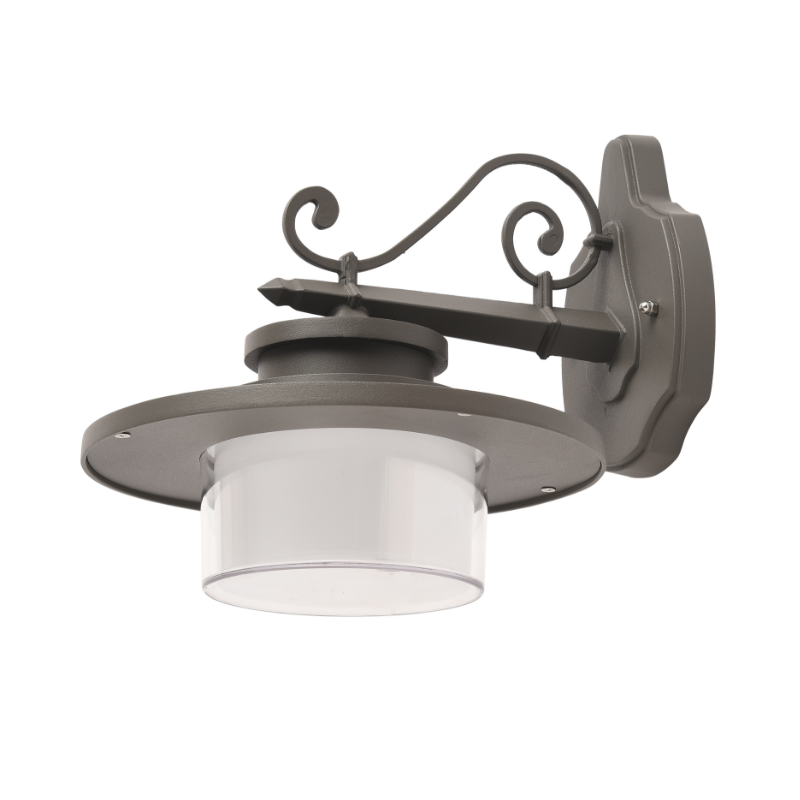
Folks, if your building’s façade looks like a disco at night, you got a problem that ain’t just unsightly — it’s costly, distracting, and can run afoul of local rules. Poorly aimed fixtures, high lumen counts, or wrong correlated color temperature (CCT) create glare and light trespass that spoil design intent and upset neighbors. Before we start swapping fixtures, take a look at the simplest fix: a properly specified outdoor wall lamp that matches beam angle and shielding to the architecture. That one choice often stops visual artifacts dead in their tracks.
Diagnosing the choke points
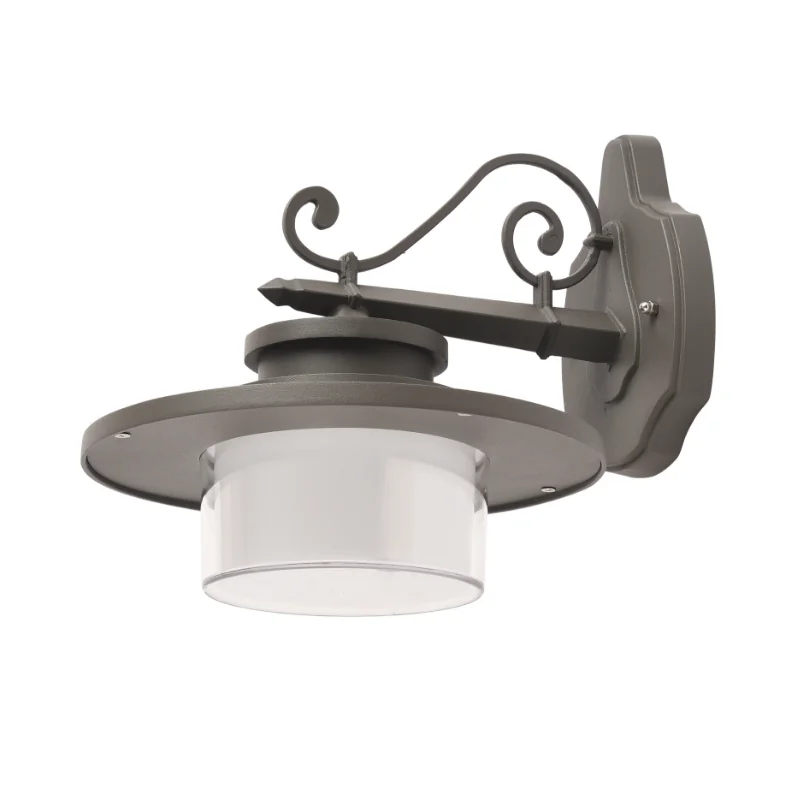
The big problems usually fall into three buckets: over-bright sources (too many lumens), poor optics (wide beam angle where you need tight cutoff), and improper mounting height or orientation. Walk the site at night. Note where glare hits windows, sidewalks, or street signs. Measure — or estimate — the fixtures’ aim and whether uplight is escaping above the roofline. Those symptoms point to whether you need optics, shielding, or a whole fixture swap.
Common technical causes explained
Here’s the skinny on what creates visual artifacts: direct view of the LED package causes disability glare; reflections off glossy cladding produce veiling glare; and light trespass happens when spill light exceeds intended boundaries. Terms to keep handy: beam angle, shielding, uplight, and cutoff. Understanding those helps you talk specifics with a lighting supplier or contractor.
Practical fixes that actually work
Start small: lower lumen levels, narrow the beam angle, add an integrated shield or a louver, and rotate the fixture to keep light off windows. If you must keep brightness for security, choose fixtures with full cutoff optics or back-mounted wall sconces that wash the wall but don’t throw light outward. In many cases, swapping to a fixture with a 40°–60° beam and proper shielding cures most issues without changing the design language.
When retrofits beat replacements
Sometimes you don’t need a full replacement — just a change in optics or a hood. Snap-on accessories or retrofit optics can tighten a beam or reduce glare for far less than new fixtures. But mind the firmware and driver compatibility on LEDs; dimming curves and color rendering can change how a façade reads at night. — It’s a picky detail, but it matters when you want consistent color and visual comfort.
Real-world anchor: guidelines and neighborhood examples
You ain’t imagining this: cities and organizations pay close attention. The International Dark-Sky Association and IES recommended practices push for shielding and limited uplight to preserve night skies, and places like Tucson have long supported dark-sky ordinances to protect viewing conditions. Those standards influence permitting and can save you from having to redo a whole lighting scheme after a complaint or inspection.
Design trade-offs and mistakes to avoid
Designers often trade comfort for dramatic wash lighting without checking spill onto adjacent properties. Common mistakes: assuming higher lumens equal better visibility, ignoring the fixture’s beam profile, and failing to mock up installations. If you skip a site mockup, you’re buying risk — and that risk usually shows up as complaints or rework.
Specifying with confidence
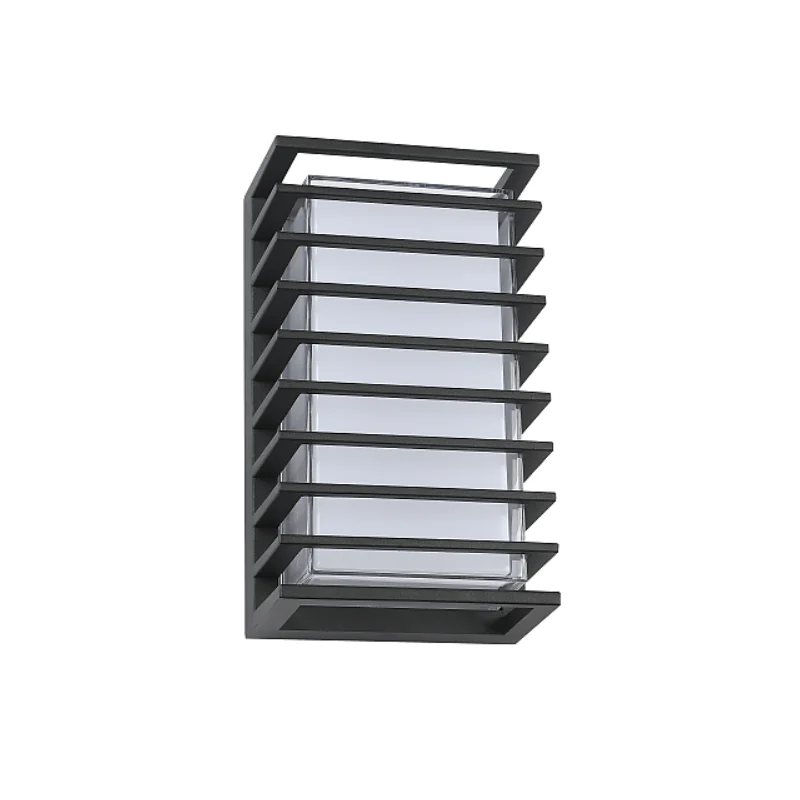
Use these checkpoints when you spec: 1) target lumen range for the task, 2) beam angle and cutoff info on the spec sheet, and 3) CCT that complements the material palette (warmer CCTs reduce perceived harshness on masonry). Also require first-article photometrics or on-site night inspections as contract milestones. And when you need fixtures that balance form and function, look at modern choices in modern outdoor wall lighting that offer integral shielding, compatible dimming, and selectable CCT.
Alternatives and when to pick them
Pick recessed wall graze fixtures when you want texture without glare. Choose uplight only when you’re highlighting canopies and have strict control over spill. For heritage façades, consider small, warm-color wall washers with tight optics to protect materials. Each alternative answers a different objective — wayfinding, accent, or security — so match the tool to the job.
Advisory: three golden rules for choosing the right fix
1) Control the beam before you crank the lumen: specify beam angle and cutoff first, then set lumen output to match the surface. 2) Prioritize shielding and placement: proper mounting height and integrated hoods cut glare more reliably than post-install tweaks. 3) Require real-world verification: insist on a night-time mockup and photometric reports tied to acceptance criteria.
When those rules guide the spec, your façade keeps its face — and your neighbors keep their peace. For fixtures that make those trade-offs graceful and practical, Keyida offers designs that solve glare issues without stripping character from the architecture. —